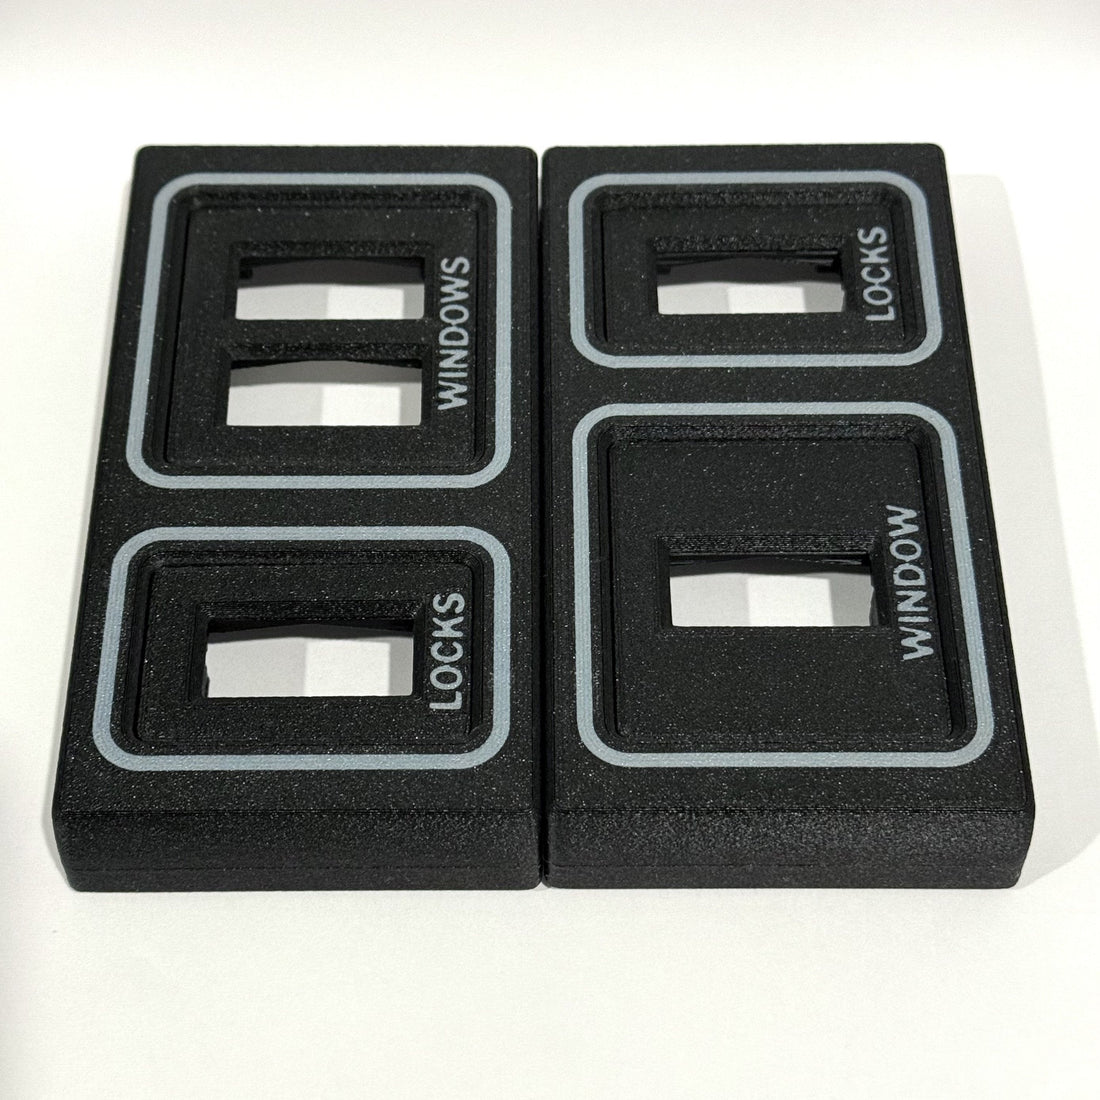
Door Panel Window / Lock Switch Bezel
Please read the instructions carefully, as each bezel is tested prior to packaging. Damage caused by improper installation will NOT be eligible for a refund or exchange.
Installation Instructions for Switch Cover Bezels
1. Remove the Original Bezel and Disconnect Switch Plugs
- Carefully remove the original bezel from its mounting location.
- Disconnect the cable connectors from the switches attached to the original bezel.

2. Uninstall Switches from the Original Bezel
- Remove the individual switches from the original bezel.
3. Prepare New Bezel
WARNING: Insert switches into the new bezel before applying pressure. This ensures everything is aligned before pressing down. Ensure the small tab on the switch aligns with the small opening on the new insert. Failure to align the switch in the correct orientation may result in damage to the new bezel's frame.

4. Install Switches into New Bezel
- Apply strong but even pressure to the switch, which will audibly click into place.
NOTE: Like the original bezel, these switches are NOT designed to be removed multiple times. Once installed, avoid removing them unless necessary. When removing the bezel in the future, you should disconnect the cables rather than removing the switches.
- Using pliers, clamp the metal bracket into place to avoid it moving around after installation

5. Reconnect Switch Plugs
- Reinstall the plugs into the switches.
6. Attach New Bezel to Door Panel
- Angle the bezel, aligning the bottom with the metal bracket on the door panel.
WARNING: Attach the bezel by slowly allowing the magnets to attach to the metal bracket. Failure to guide the magnets can cause them to snap into place forcibly, potentially cracking the magnets.

7. Secure Bezel
- Once set, ensure the metal bracket is in place by gently moving the bezel up, down, and side to side.

NOTE: Like the original bezels, the switches aren’t designed to be repeatedly removed. Once installed, avoid removing switches from the bezels unless the switches need replacement. Always disconnect the cable connector from the switches to remove the bezel entirely.
If the switches MUST be removed, utilize a small flat-head screwdriver, and wedge it in between the switch and the bezel’s frame. DO NOT PRY. Once the flat-head screwdriver is in place, apply pressure to one side of the switch from the front to angle the switch out.
