Rear Speaker Adapters
Tools and products used:
- Metra Speaker Connectors (https://amzn.to/4c24MGU)
- Anti-Seize (https://amzn.to/4c24MGU)
- 3/16 Solid Carbide Drill Bit (https://amzn.to/4c24MGU)
- Any drill bit of the same size would do; I just always recommend a solid carbide since it lasts
- 6x9 Speakers (https://amzn.to/4bWZL2t)
- Spray Contact Cleaner (https://amzn.to/4c5opxY)
- Phillips Head Screwdriver
- Ratcheting Wrench
- 9mm deep socket
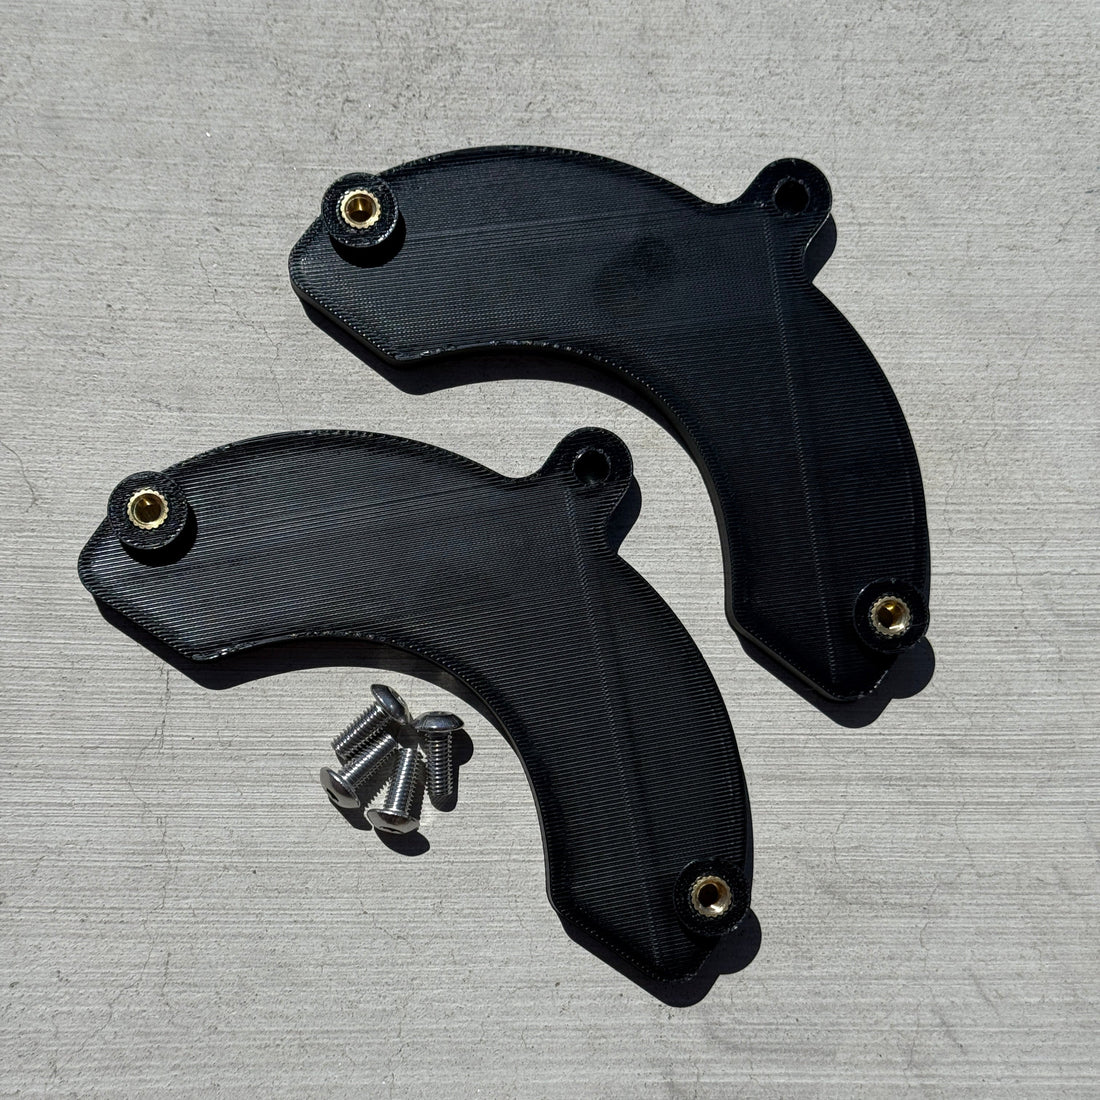
- THEAVGPRO Rear Speaker adapters ()
- If required, Rear Speaker Assembly (https://bit.ly/41RTeBq)
- Be sure to acquire the screws!
Installation Guide
- If you already have the rear speaker assembly removed, skip to step 5. Remove four screws holding the interior trim in place to expose the bracket assembly.

- Once the bracket is accessible, remove the top Phillips screw.
- Remove the Phillips screw located below the door latch in the door jam area.
- Remove the rear speaker assembly from the truck.

- Remove the 9mm nut holding the speaker with a deep socket.

- Remove the speaker and replace it with THEAVGPRO’s rear speaker adapter. Hand tight 9mm nuts to hold it in place.
NOTE: Ensure the rear speaker connection point faces upwards on the bracket.

- Place the new 6x9 speaker around the speaker adapters until the holes line up. Start with the top two screws to aid with alignment, then install the bottom two once lined up.
- Plug the Metra Speaker Connector into the new 6x9 speaker and apply contact cleaner to protect the connection. The positive and negative cables have different sizes to ensure proper installation.

- (If required) Drill a 3/16 hole in the door jamb for vehicles that did not have factory-installed rear speakers.
- Apply contact cleaner the contacts. Connect Metra Connector to factory wiring harness (pre-installed).

- Align the top mounting position of the speaker assembly to the holes. Install top mounting screw.
- (If required) Apply anti-seize to drilled hole then install screw to ensure no moisture can enter. Wipe up excess anti-seize.


- Reinstall the interior trim.